If you’re just starting out, a USB microphone offers the best functionality.
However, you might want to adopt a more traditional studio microphone set-up. That means using a large diaphragm studio condeser.
Unfortunately, setting up a traditional studio microphone is a little more complex than the simple “plug and play” USB mics. You’re going to need three extra pieces of equipment.
- You’ll need a phantom power box. These mics are large diaphragm studio condensers. As such they need power to operate. This is called phantom power. Phantom power can be supplied by an audio mixer or a phantom power supply box. The mixer or phantom power supply will plug into your computer.
- You’ll need a Mic Cable. Each mic has an XLR connector. You’ll need to buy an XLR cable to plug your microphone into the phantom power box or mixer. This cable is called a female XLR to male XLR. Yes, these are technical terms and if you talk to an audio professional, they’ll know what you mean.
- You’ll also need a phantom box cable that runs from the phantom power box to your PC. Some models may offer a USB connection, but most traditional ones do not. For a traditional phantom power box, you’ll need a female XLR to mini phone plug.
What You’ll Need for a Traditional Studio Microphone
As a result, you’ll see below recommendations for a number of pieces of gear. They are:
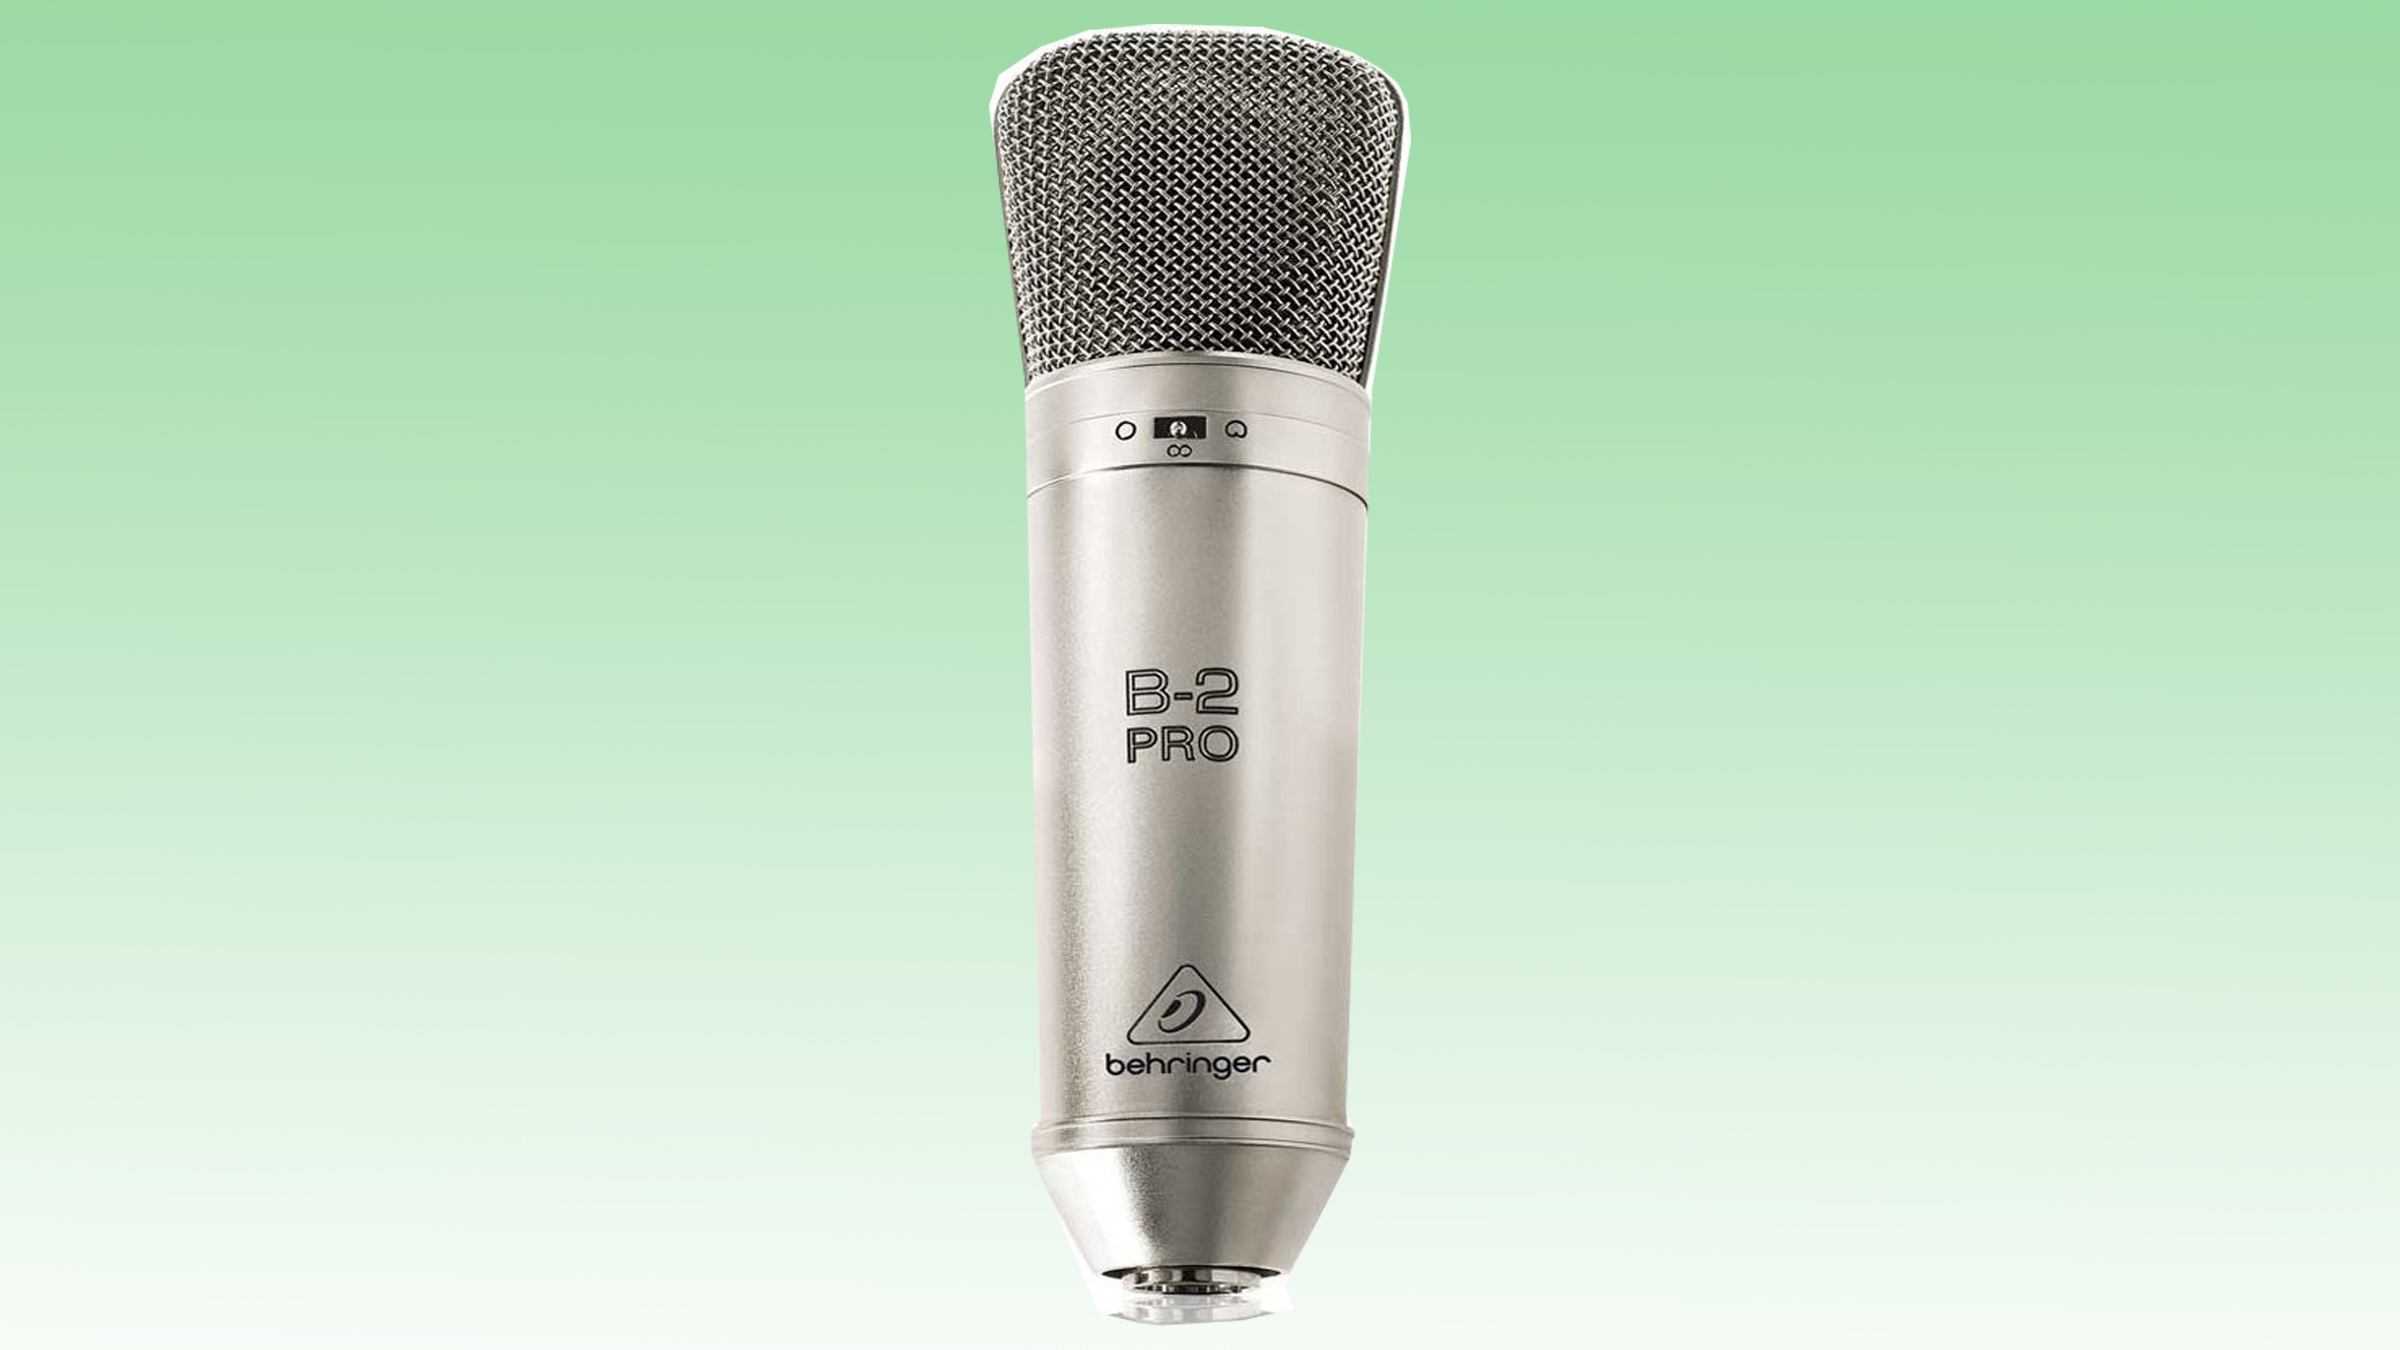
- Microphone (I’m suggesting the Behringer B-1)
- Phantom Power Box (I’m staying simple and am not recommending a mixer at this time.)
- Cable #1 for the microphone
- Cable #2 for the phantom power box.
![]()

![]()


Comments are closed.